-
Products
Inspire Young Creators Today!
Explore a wide selection of art supplies and classroom tools for K-6 learners.
Discover More
-
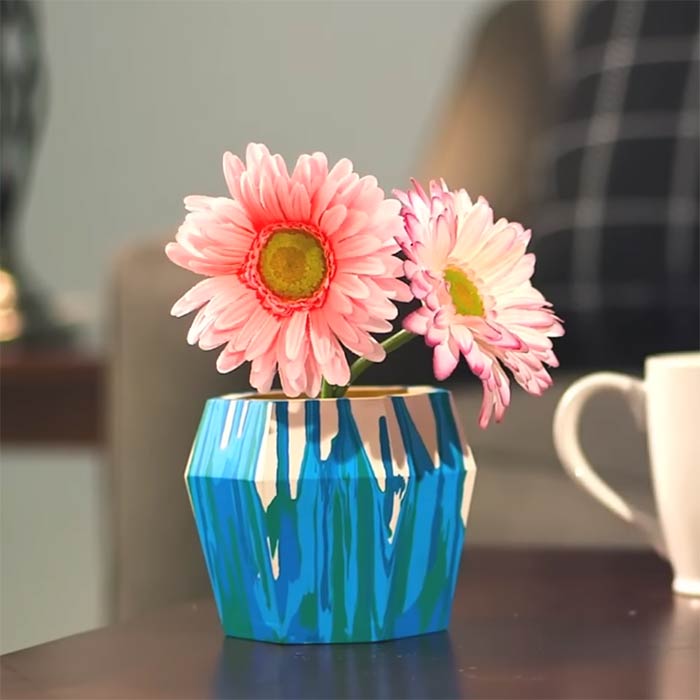
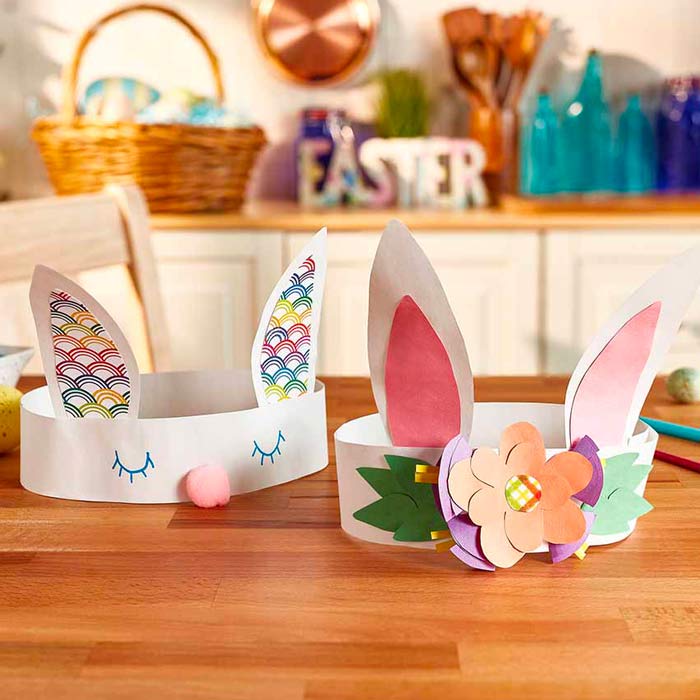
Coloring
Inspire Creativity Every Day
Explore art supplies, coloring pages, lesson plans, and craft ideas to spark imagination and fun learning.
Discover More
- Feature